Physical Model Development
For the development of the physical model I am currently undecided on what materials to use to produce the physical model, I know that the 3D model will be made of metal but for the physical model although I would like it to be made of metal but to try to produce a physical copy as close to the 3D aspects of the model I have no knowledge, skills or tools with metal working required to produce a metal model. currently at this stage of development my initial idea for potential materials are modroc, Paper mache and clay. I have chosen these materials because I have past experience working with these materials and are easy to work with and easy to source and I believe that the final results of these materials will have the similar metallic properties I would be trying to recreate. at this current point in time I am leaning towards the use of modroc as my material of choice for the physical model as it’s the material I have worked with most recently and already have a supply of. I plan to research each material and their properties and then produce small-scale tests with each material then decide what material to use based upon those results.
Modroc
Modroc is a plaster impregnated gauze designed to aid the healing of bones in the medical profession and is also used widely in the education and craft worlds for creating models due to its beneficial chip resist and drying qualities.
modroc techniques and tips
Setting Out Your Work
Before you bring water anywhere near your ModRoc plaster of paris bandage, set out the artwork or model carefully. Preparation is most important if you want to ensure that you make the best use of your ModRoc. Remember that once the ModRoc is wet it takes a few minutes before it starts to harden and then for a few more minutes you can mould and work it before it gets too hard. So, speed of working is important which is why you have to think out what work you want to do before you start wetting your plaster of paris bandage.
Storage
This is equally important. Take out of your container, or if sealed individually open only what you need. Keep the rest sealed in an airtight container and store in a dry cool place. Any contamination with water makes it un-useable later. With careful storage, the shelf life can extend to years.
Soaking
The process of soaking and modelling is best done by hand. It is a tactile process. If you use gloves, however thin, you lose contact with your work. As far as we know, Plaster of Paris bandage is non allergic and it is easy to wash off when you have finished work. Soak the roll in tepid water (the warmer it is the quicker it sets) for about 5 seconds until it is saturated or the bubbles stop rising (trial and error).
Squeezing
Gently squeeze out excess water or let it run off for a few seconds. Squeeze it too much and you squeeze out the plaster of paris so it won’t set.
Wrapping and Layering
Immediately after squeezing, gently wrap or drape the bandage over and around the frame or object, layer upon layer. Don’t wrap it tightly.
Shaping
Shape the bandage by hand continuously during wrapping in order to make the bandage adhere and to remove bubbles and cavities. When it begins to harden the shaping process should stop.
Setting
The normal setting time is 2-5 minutes but can be changed slightly in the following way. To accelerate setting, use warmer water or after layering, a hair dryer or heater. You can retard setting by around 4 minutes by using cooler water and by adding 2mg sodium sulfite (anhydrous) per 1000ml of water before soaking.
Preparation for Painting
If you intend painting your work we have some important tips for you.
- The surface of ModRoc is normally crumbly so paint will easily pick or rub off even after it dries. Our solution is before soaking the bandage, mix about 1 part of PVA glue to 3 parts of water for soaking. This has 3 effects, one is (if you want it to) it sticks much more firmly to the base material of your model. The second major benefit is the PVA bonds the Plaster of Paris much more tightly together so paint will not flake off as easily when dry. It does not retard the drying of the PoP bandage. And not least, the PVA glue strengthens the model and helps it to resist water ingress.
- Prepare the ModRoc for painting as you would a canvas. We use Leyland Acrylic Primer Undercoat. This can be used for both oil and acrylic paint.
- Use good artist quality paints.
- For protection, varnish the finished work with the appropriate varnish.
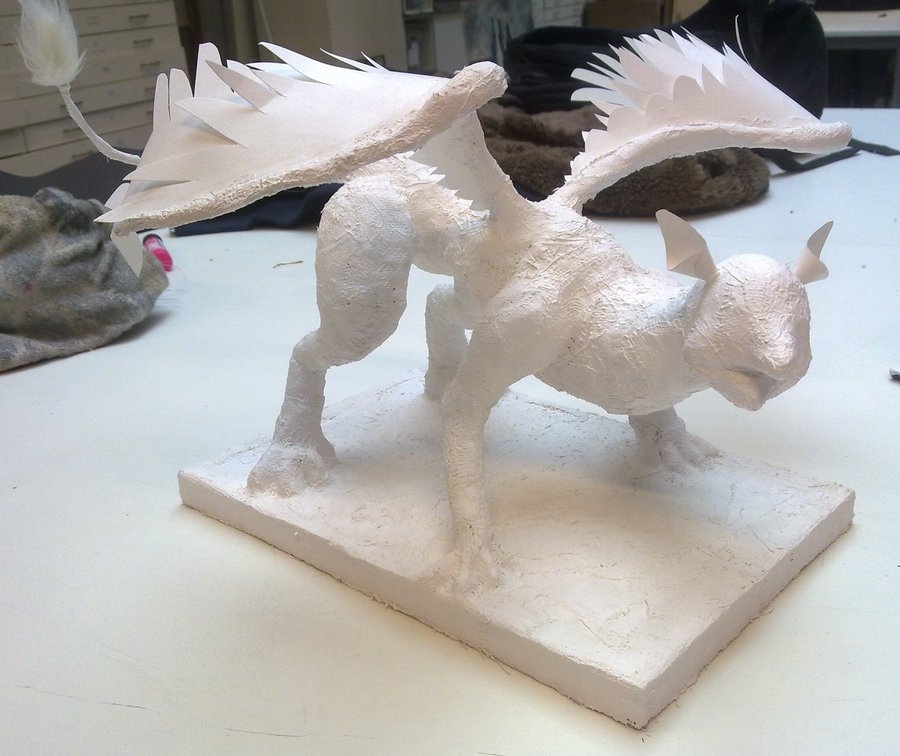
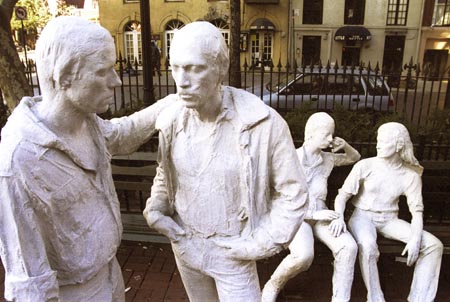
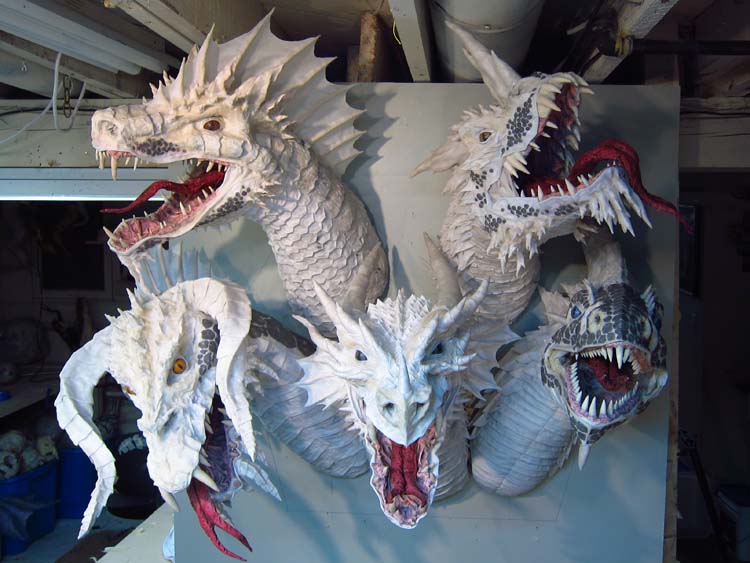
Some examples of modroc sculptures, it has good form but one of my concerns with modroc is the finish and smoothness of the modroc finish it is quite rough and what I would be trying to replicate is a metal material that would be smooth. I think I would be able to achieve a smoother finish than what it shown in these examples if I sand the surface of the model then apply some finishing coats of PVA glue. It is some thing I will have to take into account when I make my test experiments of the materials
Papier mache
preparation methods.
French for “chewed paper”, is a composite material consisting of paper pieces or pulp, sometimes reinforced with textiles, bound with an adhesive, such as glue, starch, or wallpaper paste.
Two main methods are used to prepare papier-mâché; one makes use of paper strips glued together with adhesive, and the other method uses paper pulp obtained by soaking or boiling paper to which glue is then added.
With the first method, a form for support is needed on which to glue the paper strips. With the second method, it is possible to shape the pulp directly inside the desired form. In both methods, reinforcements with wire, chicken wire, lightweight shapes, balloons or textiles may be needed.
The traditional method of making papier-mâché adhesive is to use a mixture of water and flour or other starch, mixed to the consistency of heavy cream. Other adhesives can be used if thinned to a similar texture, such as polyvinyl acetate-based glues (wood glue or, in the United States, white Elmer’s glue). Adding oil of cloves or other additives such as salt to the mixture reduces the chances of the product developing mold.
For the paper strips method, the paper is cut or torn into strips, and soaked in the paste until saturated. The saturated pieces are then placed onto the surface and allowed to dry slowly. The strips may be placed on an armature, or skeleton, often of wire mesh over a structural frame, or they can be placed on an object to create a cast. Oil or grease can be used as a release agent if needed. Once dried, the resulting material can be cut, sanded and/or painted, and waterproofed by painting with a suitable water-repelling paint. Before painting any product of papier-mâché, the glue must be fully dried, otherwise mold will form and the product will rot from the inside out.
For the pulp method, the paper is left in water at least overnight to soak, or boiled in abundant water until the paper dissolves in a pulp. The excess water is drained, an adhesive is added and the papier-mâché applied to a form or, especially for smaller or simpler objects, sculpted to shape.
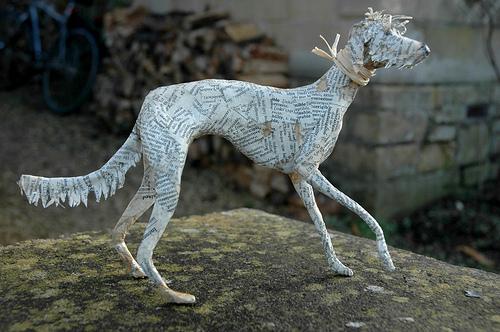
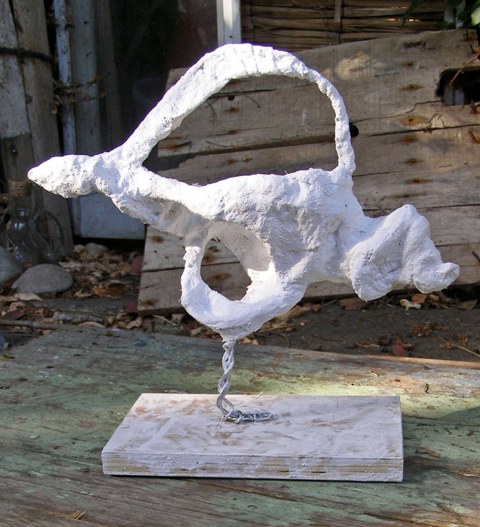
Some example of papier-mache sculptures. paper mache can be useful to make interesting textures by the different type of paper that you use to make the model. one of my concerns with paper mache is its ability to take form it is really reliant upon the armature or skeleton underneath the model for its form and as the paper dries to shrinks to the armature underneath leaving it with uneven surfaces. at this point in time paper mache seems like the worst material so far in terms of what I want to achieve with my Physical model. in the test experiments with the material my main focus will be the form i can achieve with the paper mache.
modeling clay
If I was to use Clay I would use air dry clay as it versatile and easy to use and I would not need to use a kilm to fire the model.
preparation methods.
Air dry clay begins hardening as soon as it’s exposed to air. The clay is easy to work with and does keep moist for quite a while so you don’t have to rush, but make sure any leftover clay is wrapped and stored in an airtight container if you want to use it again. Air drying clay does not react with water in the same was as kiln firing clay and once it has hardened it cannot be returned to a workable state.
Clay needs to be left to dry completely before painting, the length of time it takes will depend on the size and thickness of your project, usually between 24-72 hours. Try not to speed up the drying process by heating the clay, as this will lead to cracks forming in the surface.
knead the clay before you start modelling to make it more pliable and easier to shape. You can use water and clay to create a slip to adhere clay pieces together. Try not to use too much water to the clay to avoid cracks forming as the clay dries.
If you are working on a porous surface like a wooden table, make sure you protect your working area as it can be difficult to remove hardened clay from any cracks.
watercolour or acrylic paints can all be used and applied directly to the clay.Once your clay is completely dry, you can apply paint directly to the surface. Acrylic paints work really well, but try not to apply too much in one go – it will need additional drying time (up to an hour) before you apply a second coat.If you are using white self-hardening clay Watercolour paints can also be used.
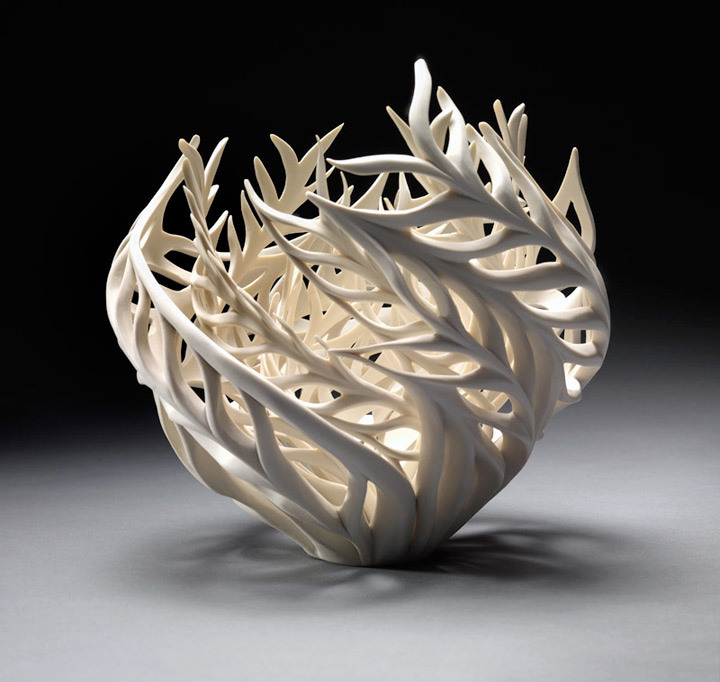
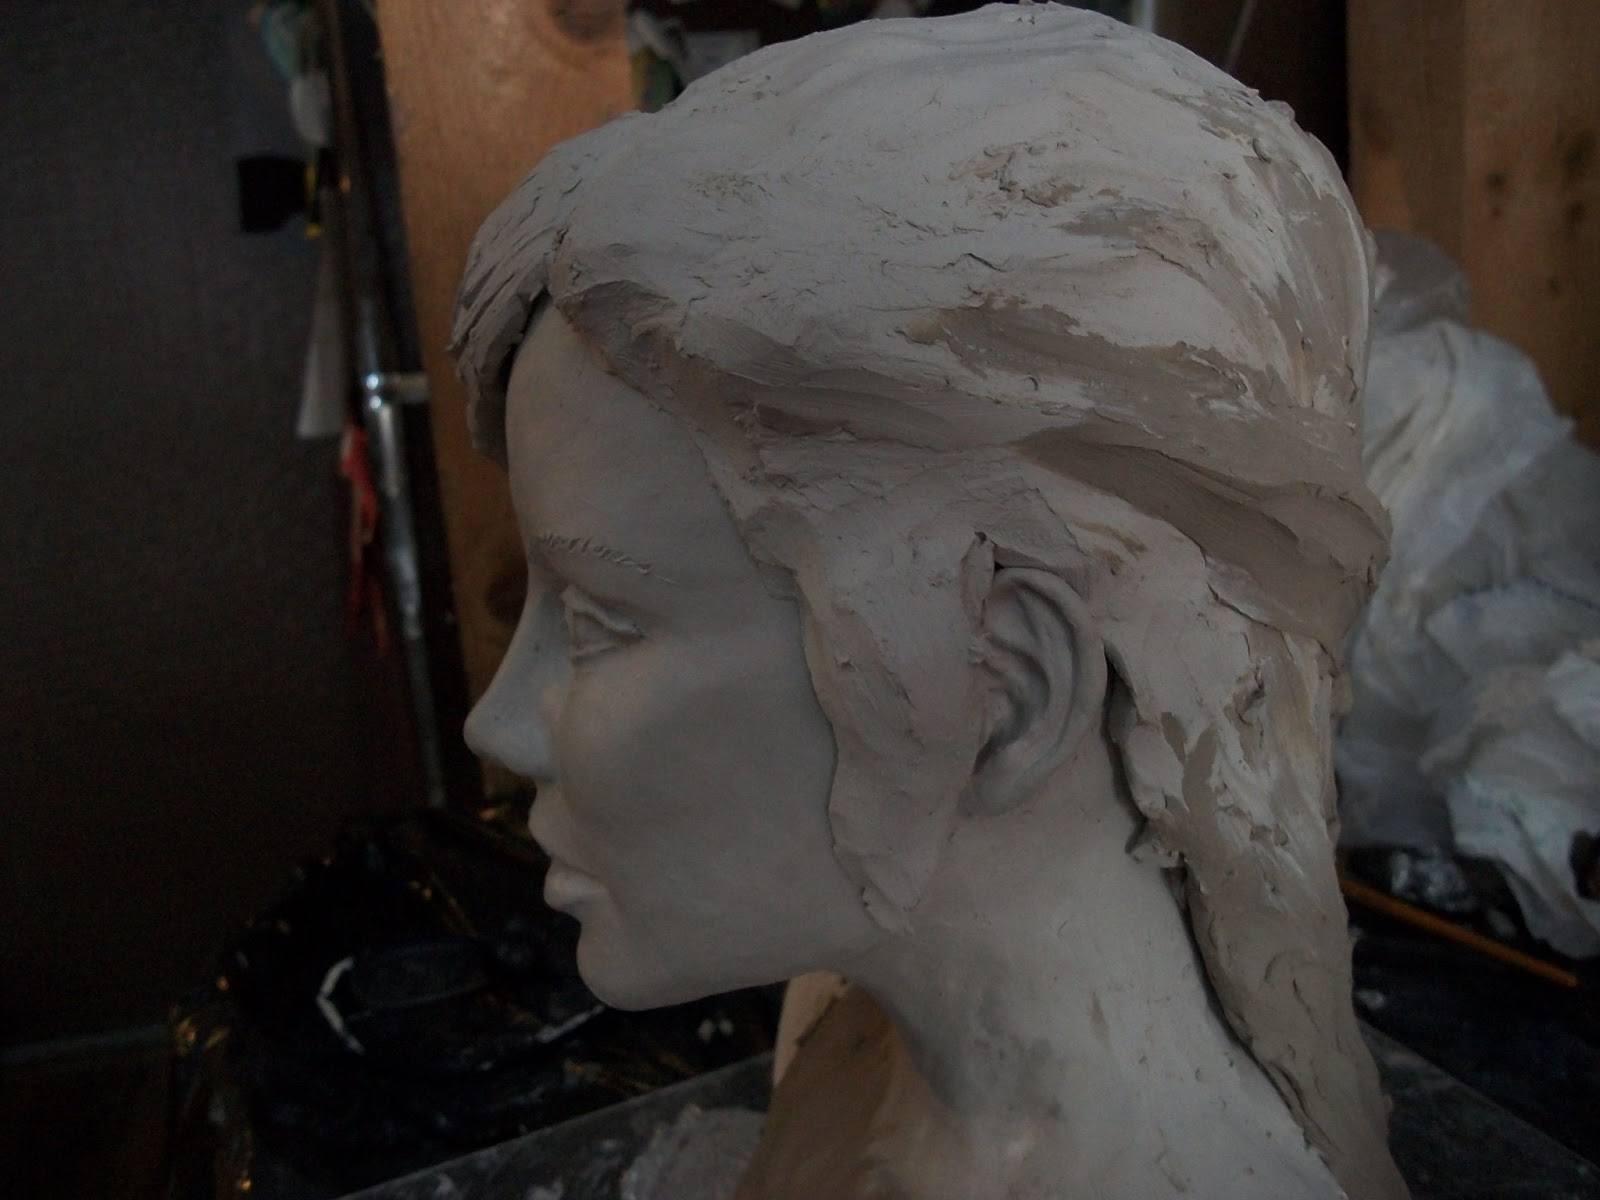
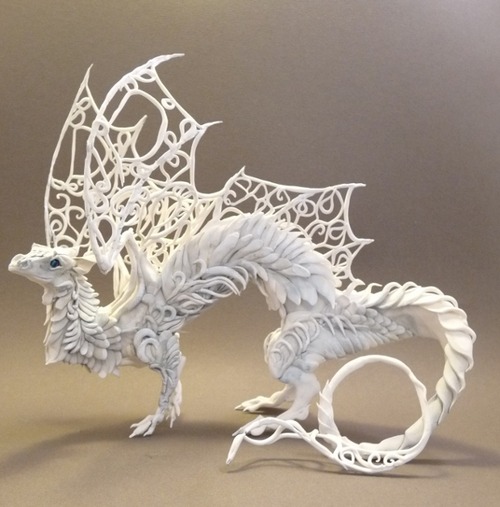
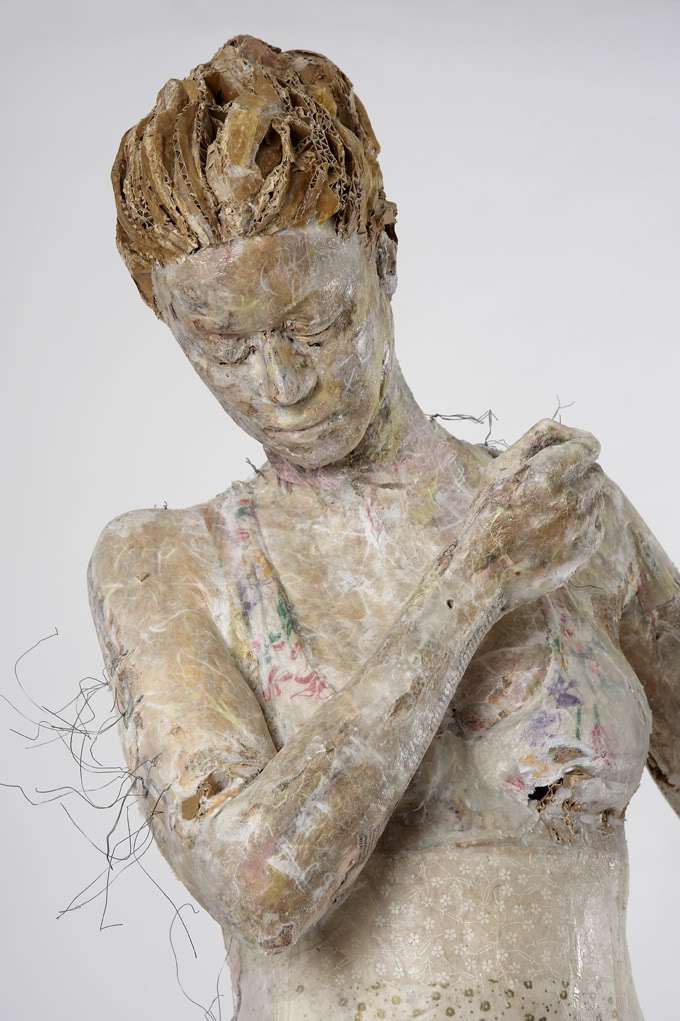
Some examples of Air dry clay sculptures. I am impressed with this materials ability to make forms and detail and its smooth finish, so far from what i have researched I think that Air dry clay is the most suitable material to use when creating my physical model as it is able to achieve great form and a smooth finish which is the most important aspects to me when trying to replicate metal like materials. but as it stands I am still leaning towards the use of modroc as my material of choice just because of the availability of the material to me and my past experience with the material but I will have to see when I create my test experiments with each material particularly comparing the different properties of the modroc and air dry clay to see whether the availability and experience out weighs the material I think will have the more suitable properties.
Small scale Material Test
For the small-scale material test I am going to create a cross-section of an image of a Robot Head by Aceto using each material. I have chosen Acetos robot head because it has aspects similar that might feature on the base model for the 3D model and it will be a good bench mark in which to assess each material it will mainly be judged on the form and smoothness of the finish and its ability to achieve detail.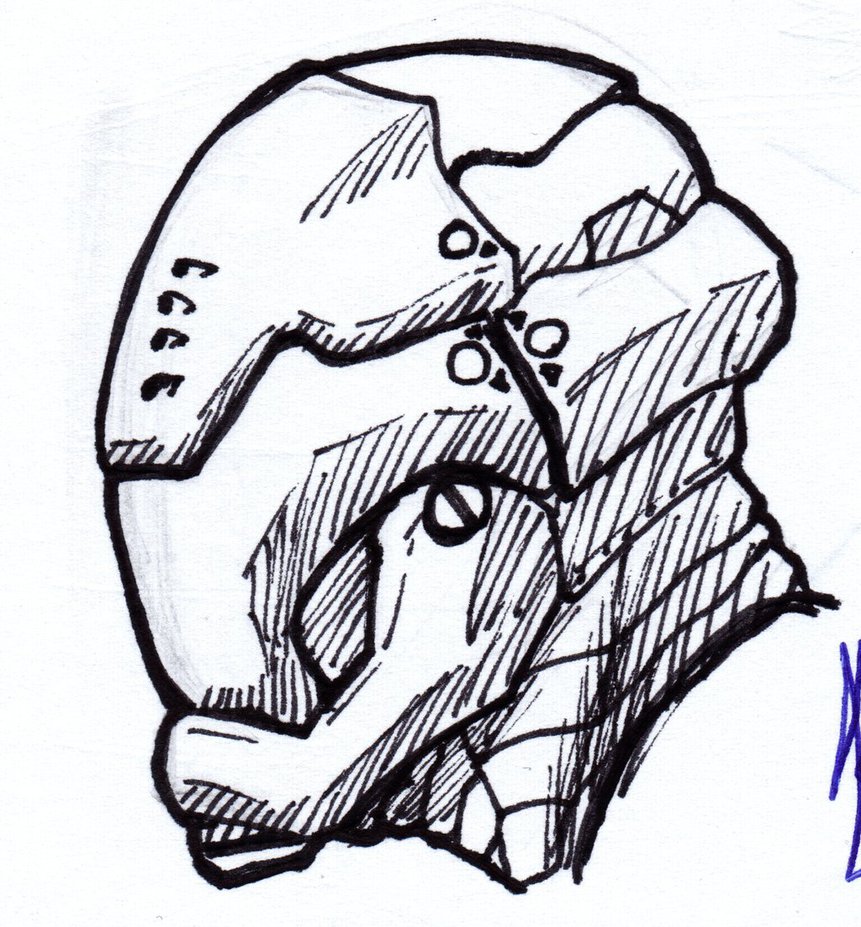
Material Tests
Papier Mache
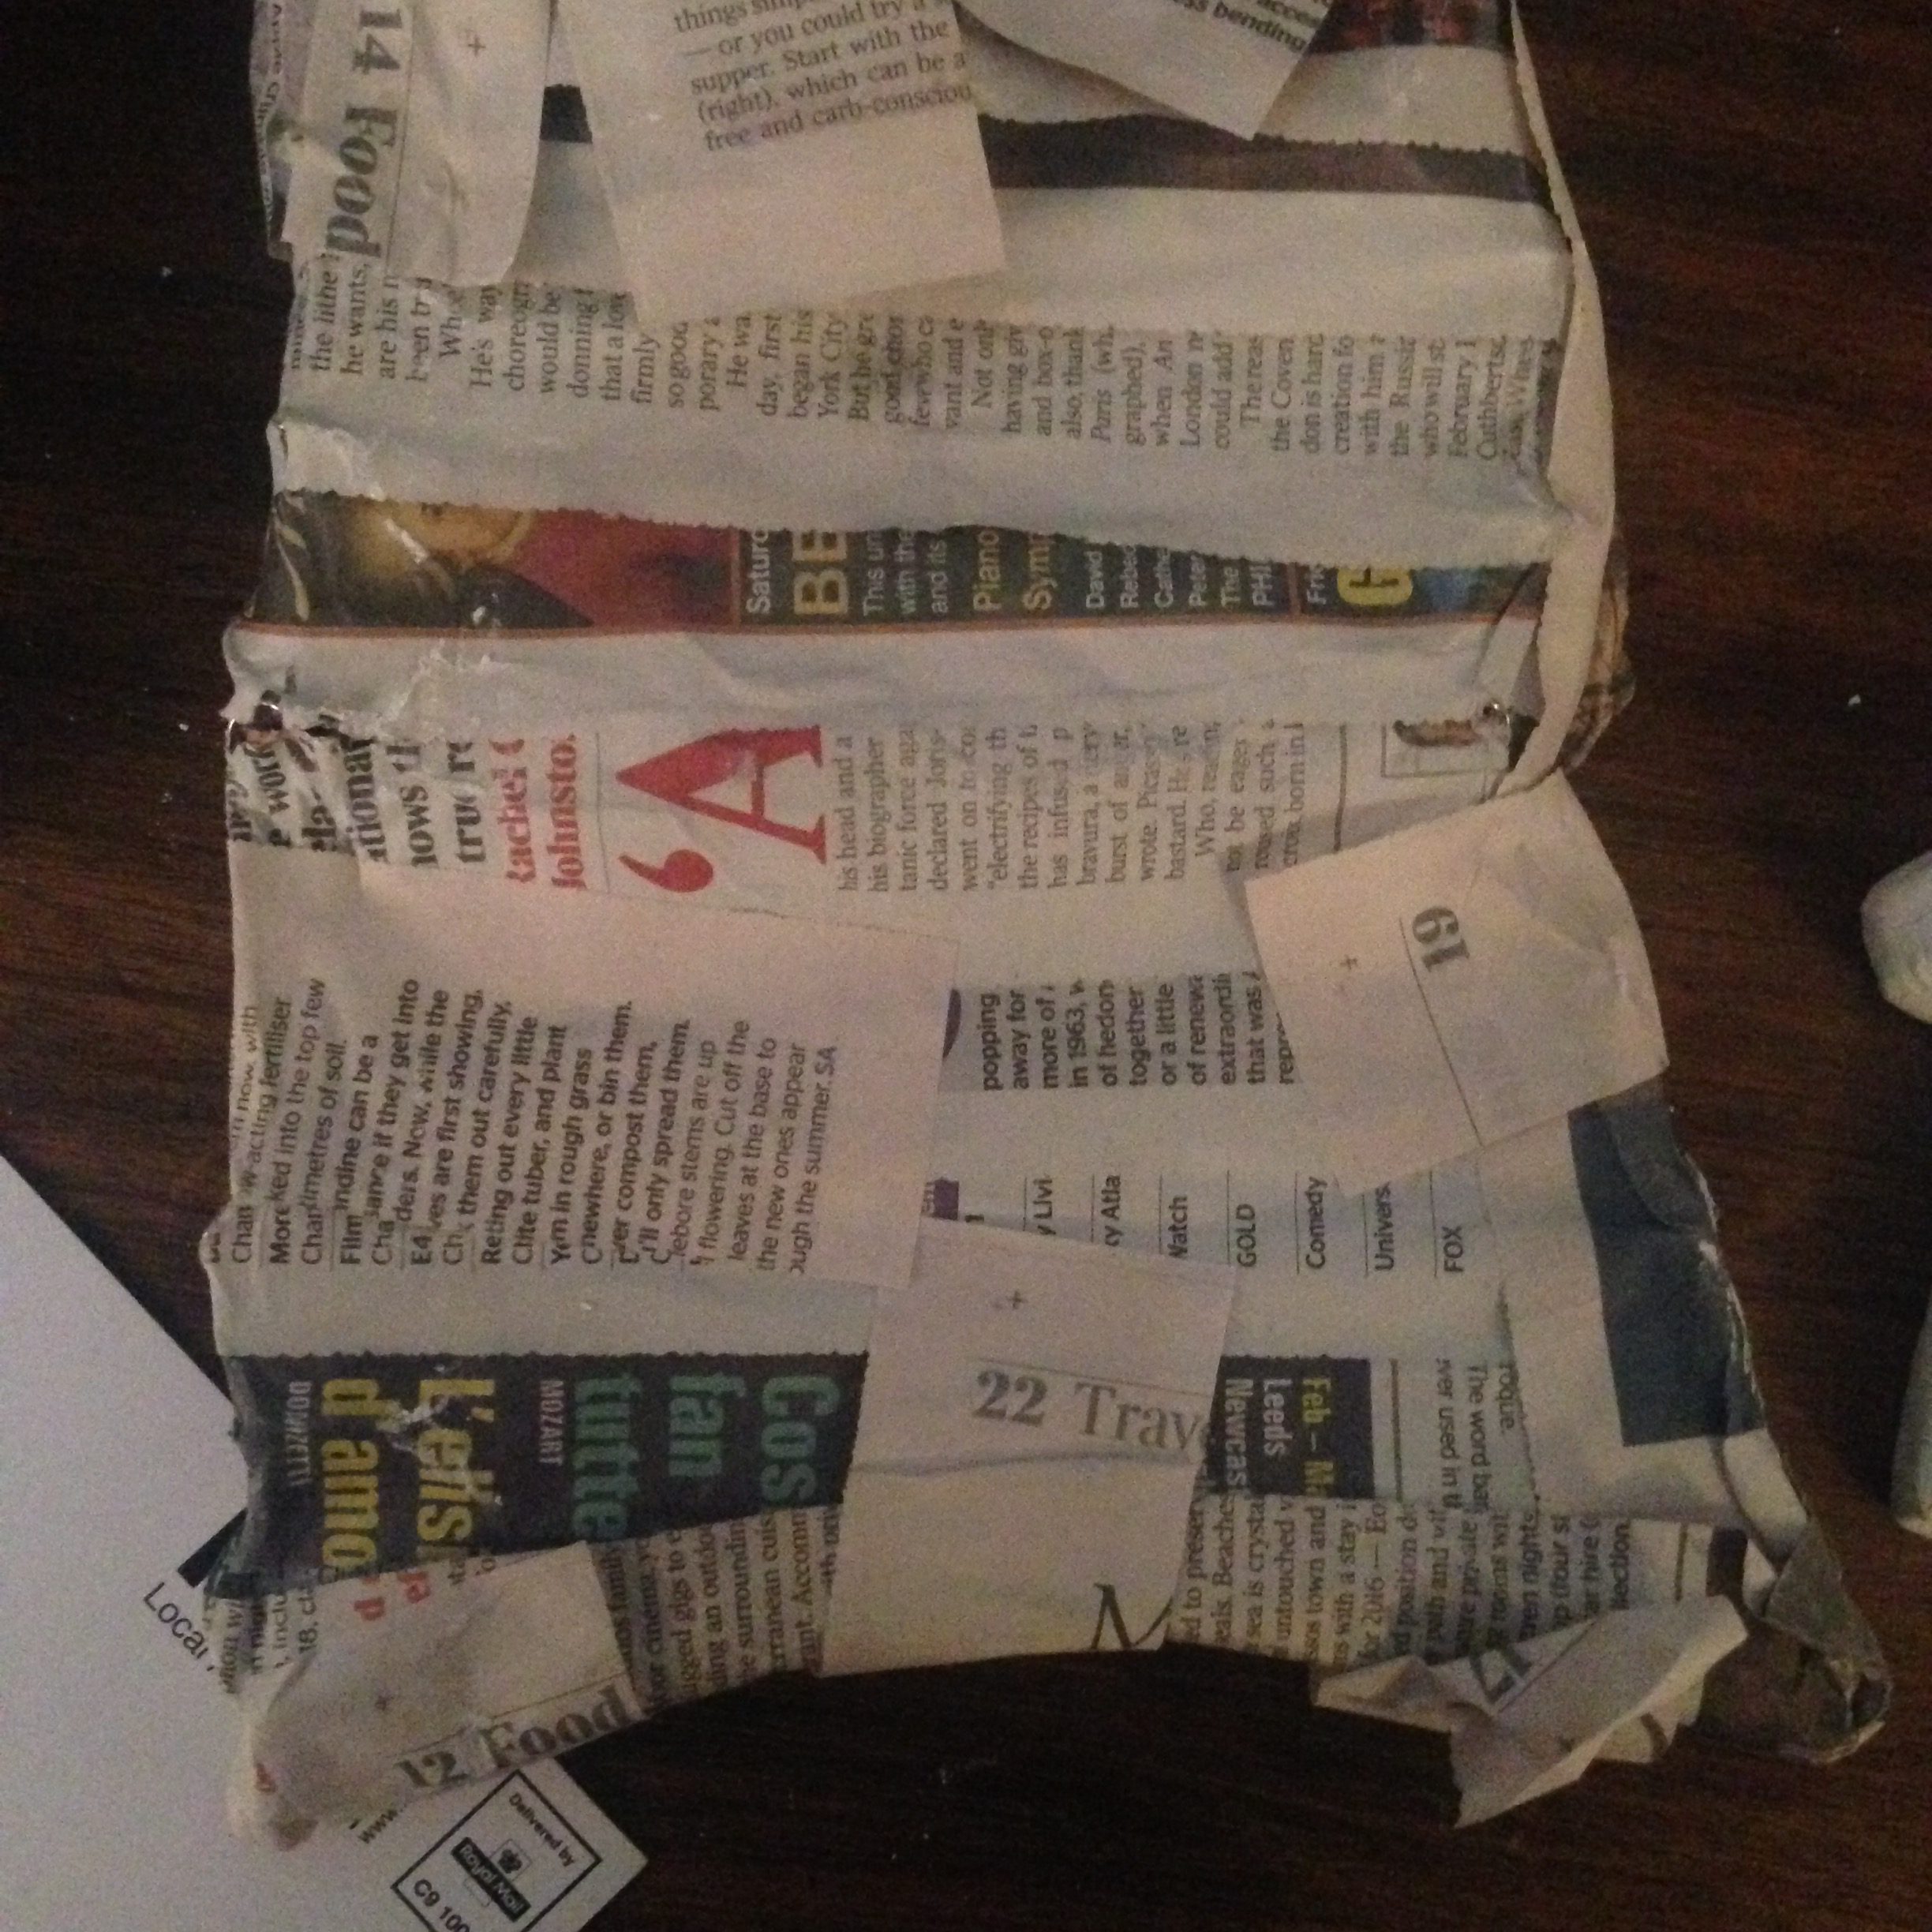
I started production by making a rough cross-section mesh of the robot out of chicken wire. soon after starting working with the papier-mache I could tell that this material was not going to be suitable for this type of project as it was going to be way too flimsy. I also had difficulty with the layers sticking together. this might have been due to the ratio of pva glue to water I was using. Once I had initially applied 2 layers of papier-mache I left it to dry and came back some of the layers had come undone and it was just to flimsy so at this point I stopped development with the papier-mache as it was just going to be to flimsy or require a lot f time waiting for the material to dry and apply more layers.
Modeling clay
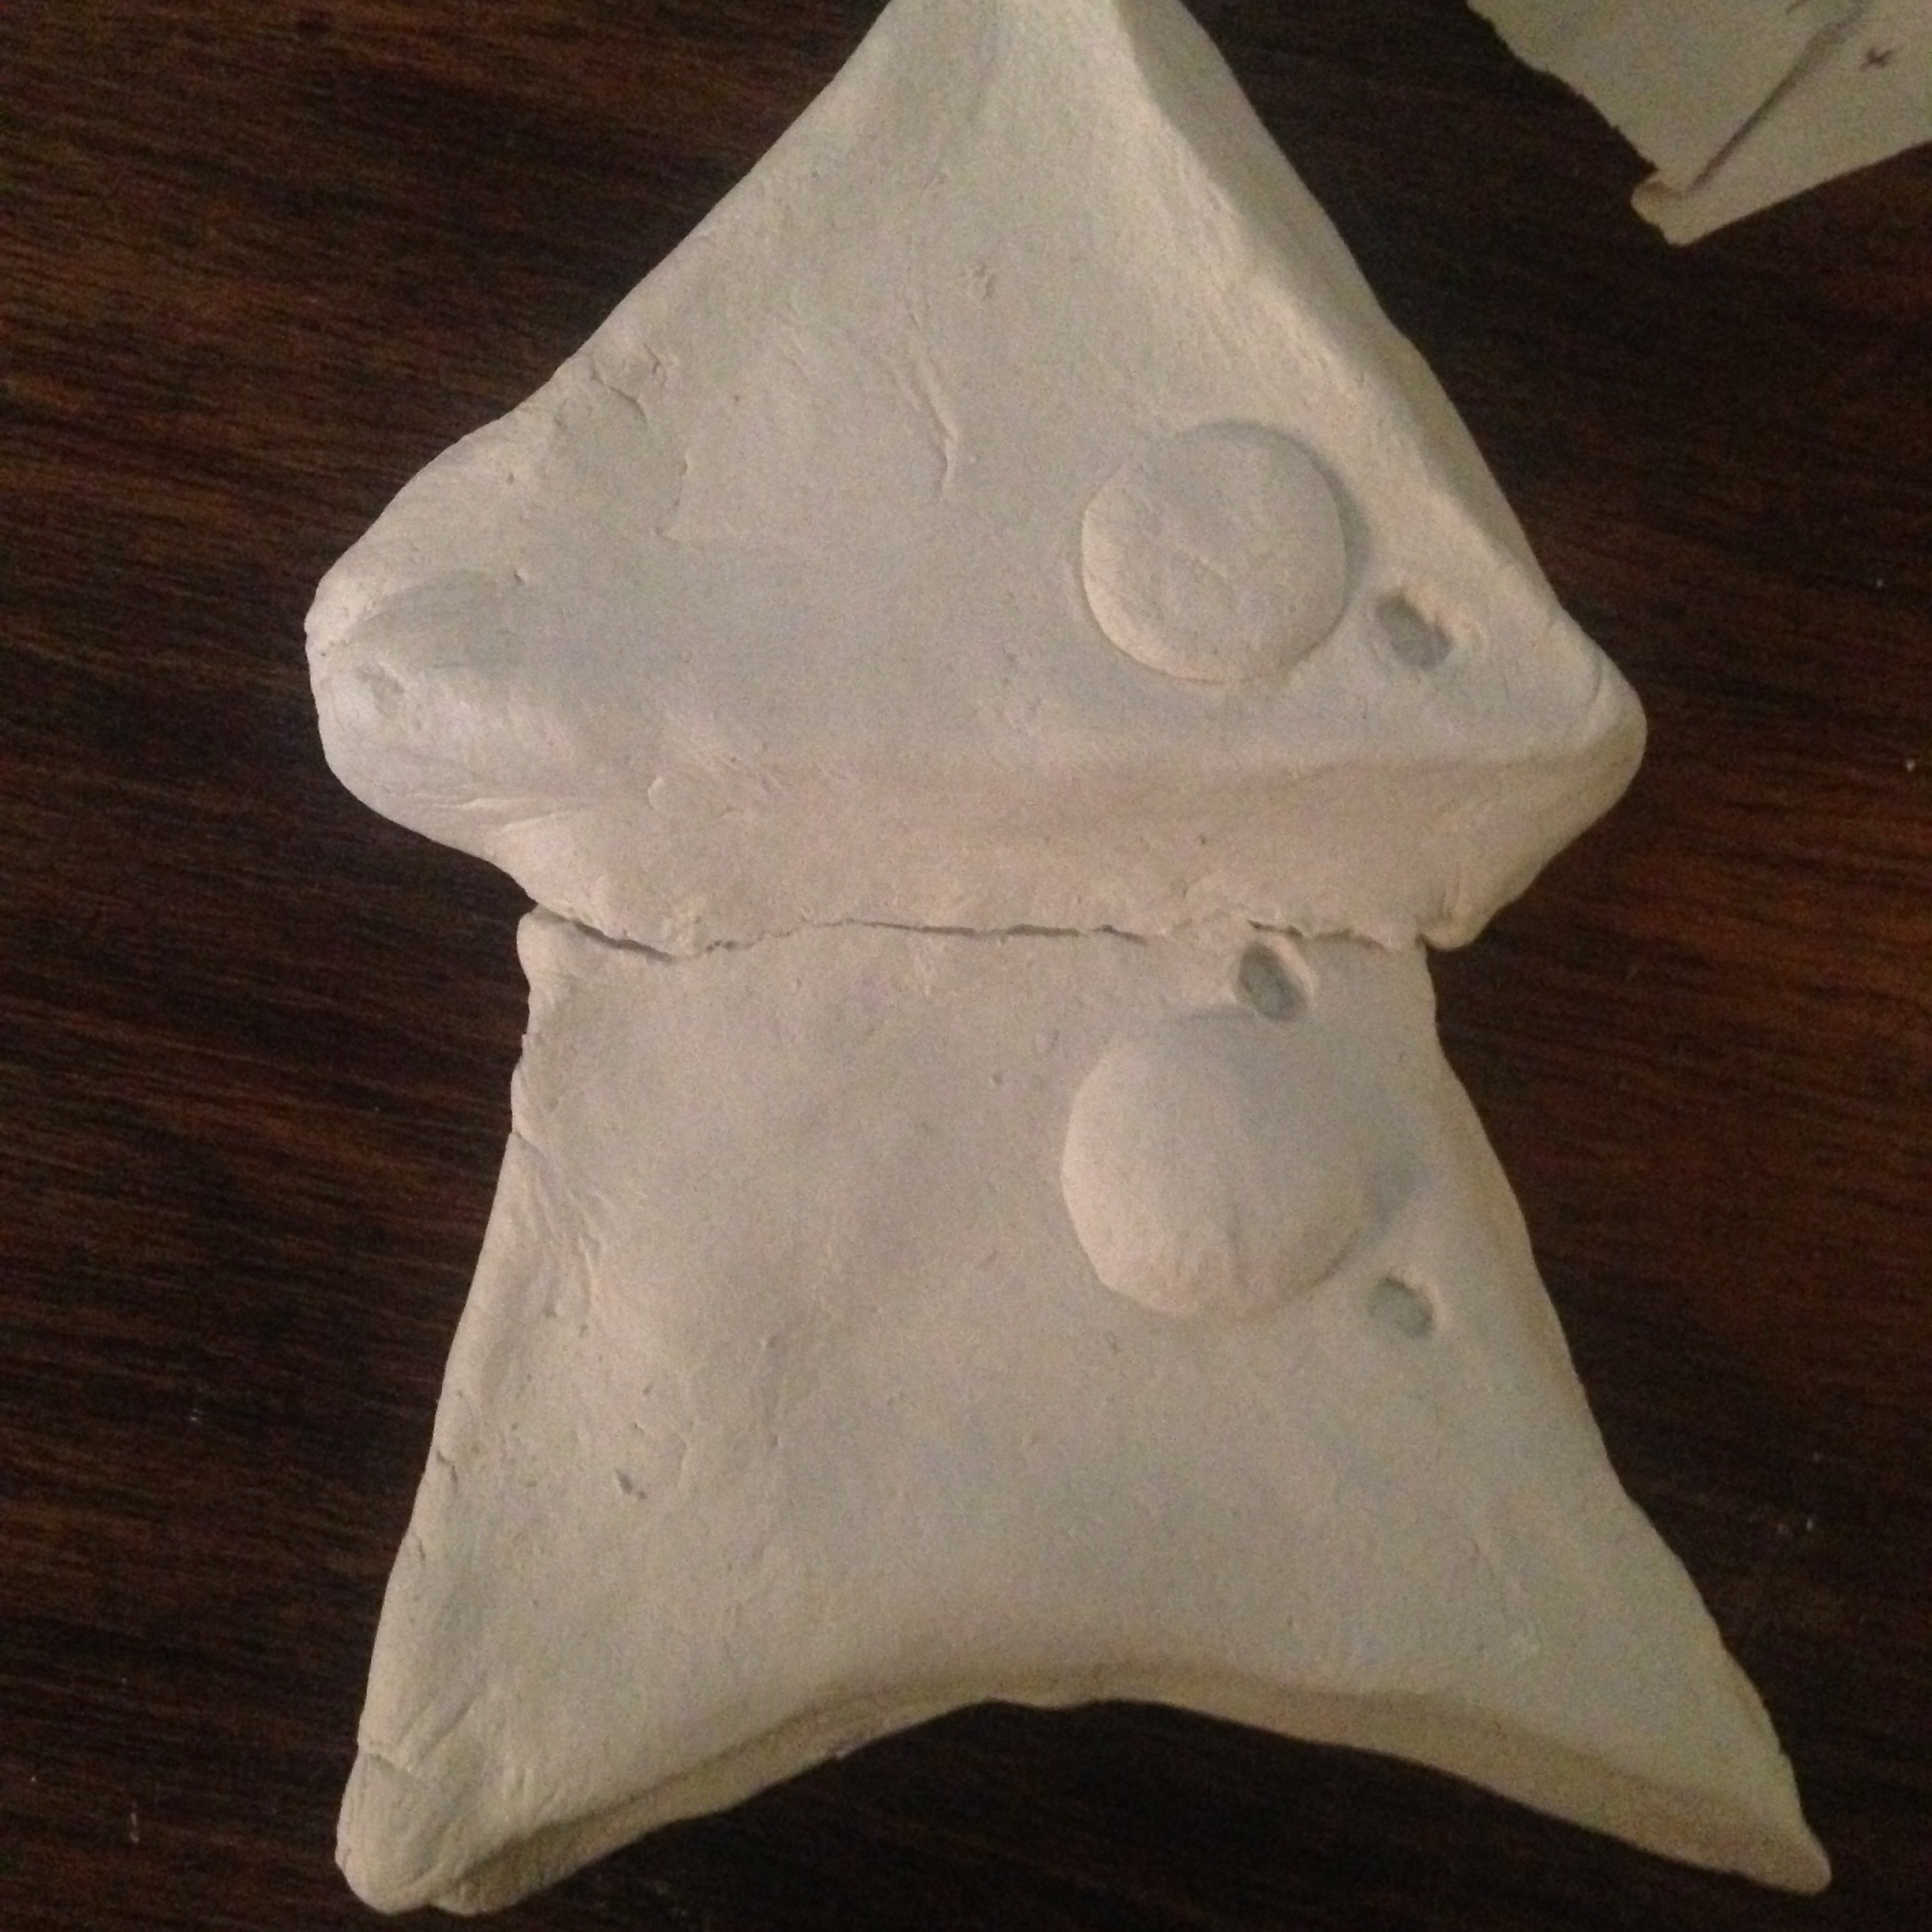 my experience with the clay was not quite what I expected it to be I found it quite hard for the material to keep an even or consistent surface shape when modeling it and instantly had logistical concerns about the use of the material as it was quite heavy and have concerns about for strong the wire mesh underneath would have to be to support all of its weight and the amount needed to cover the size of the head I have in mind just wouldn’t be cost effective.the top and bottom sections broke apart after it had dried so I also have structural integrity issues with this material. I wont be using clay as my chosen material.
Mod Roc
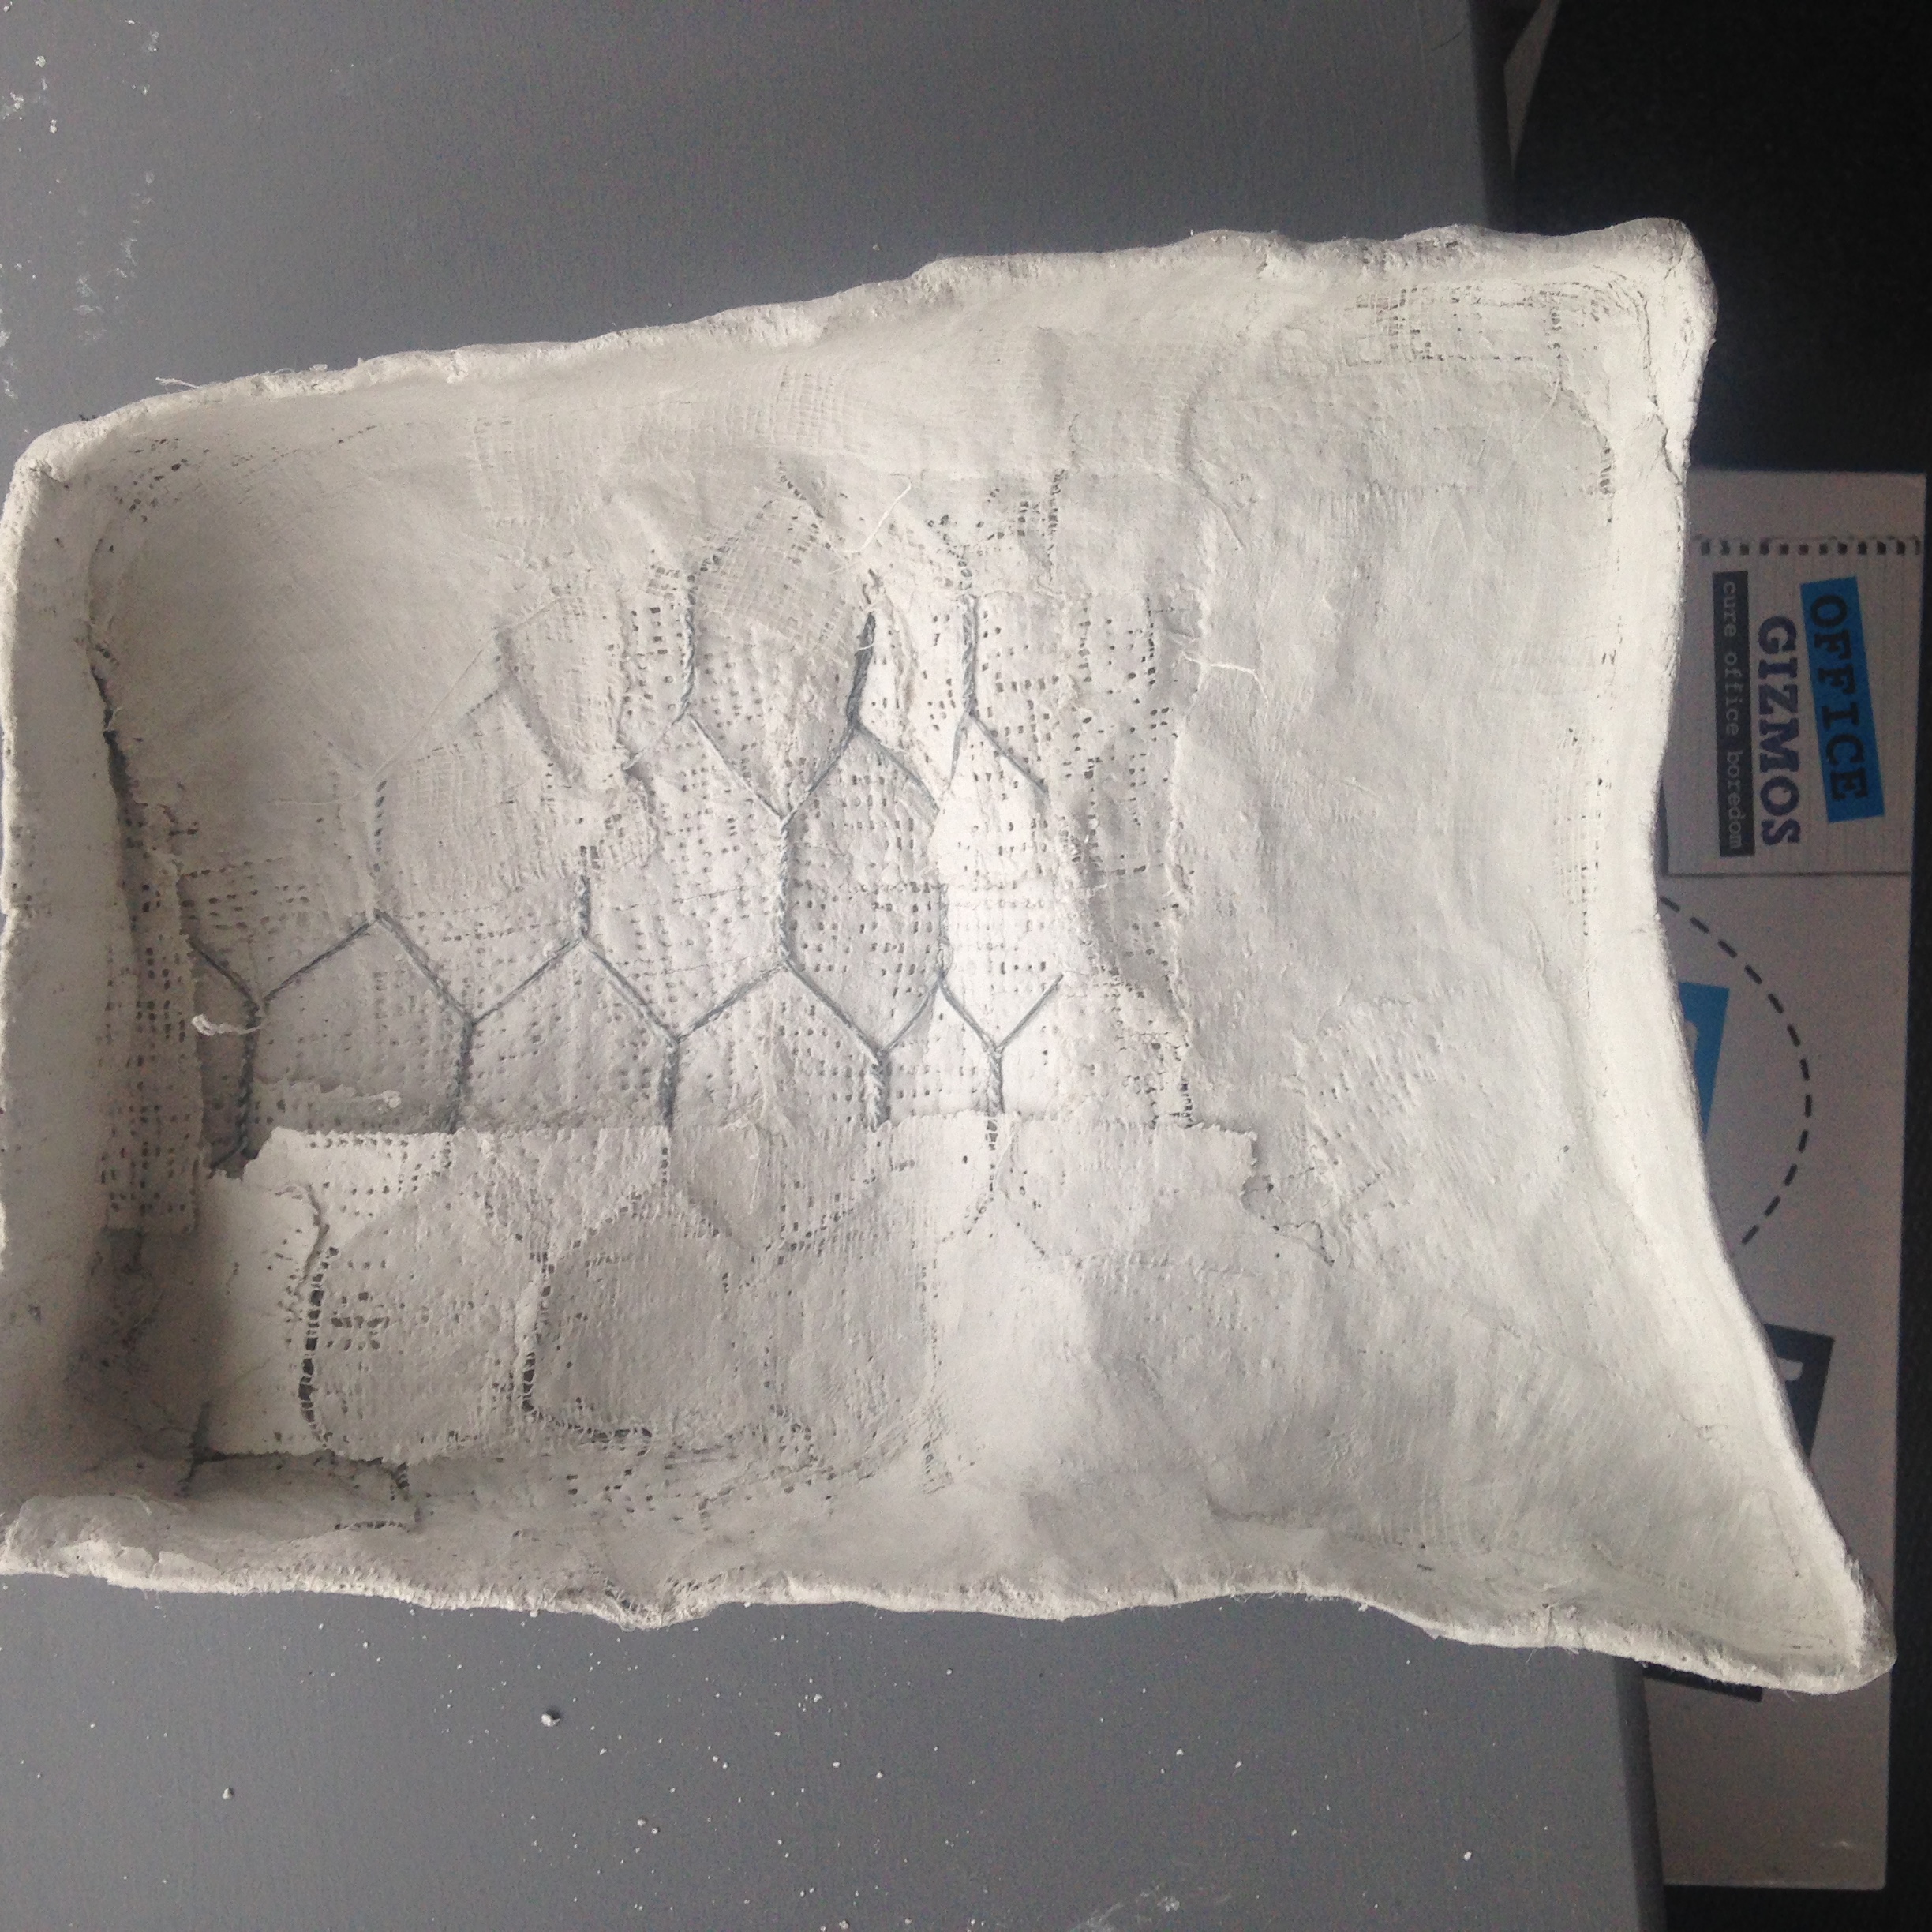
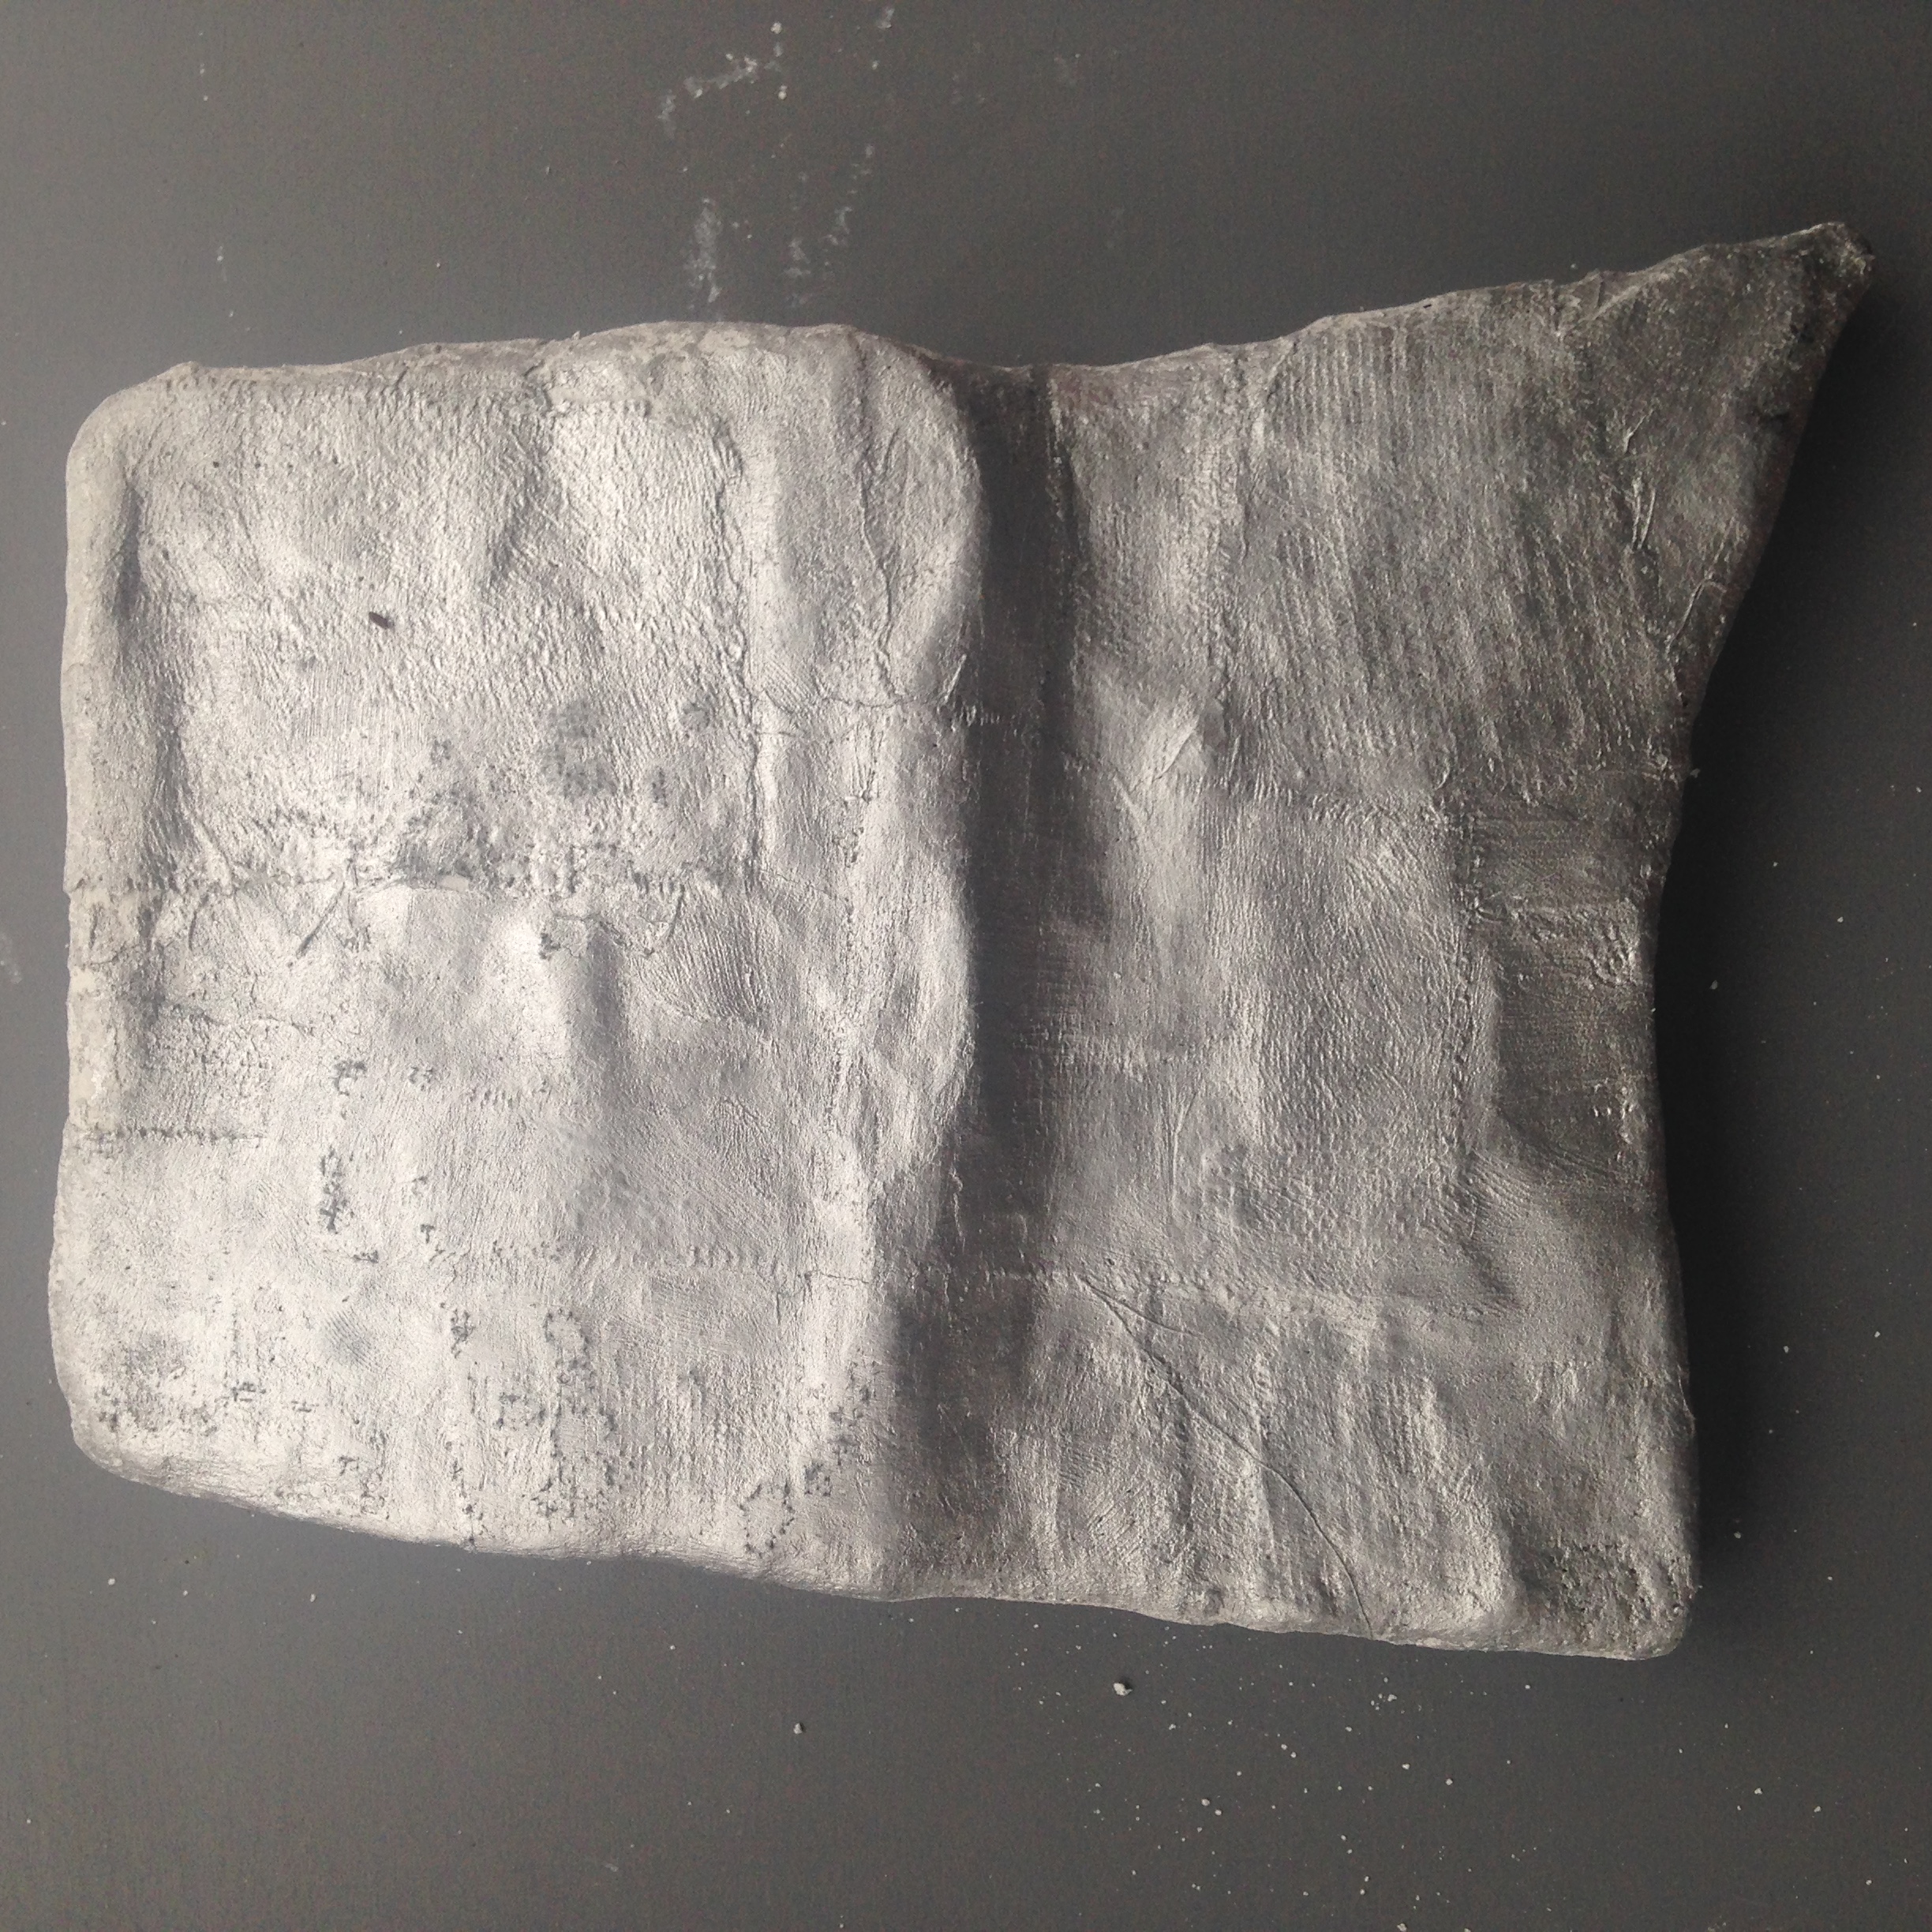
I started production by making a rough cross-section mesh of the robot out of chicken wire. my initial thoughts about the Mod Roc are very positive it is easy and quite quick to apply it starts to dry very quick but still remains malleable and yet still strong enough that you can still manipulate the wire mesh underneath as you work with it before it drys completely it is rigid enough unlike the papier-mache but not as heavy as the clay. at this point I have decided that I am going to use Mod Roc as my chosen material because of its easy usability and the amount of mod roc I will need to cover the mesh when compared to the clay. but as I thought in my initial concerns about the smoothness and finish of the mod roc it is quite rough but I did only apply 2 layers I think that when it comes to the final piece I will add an additional layer or 2 to smooth it out more. with my test model I will continue to develop it by trying some of my suggested methods I mentioned above by sanding and coating in a layer of pva glue to smooth is even further. After sanding a small section the surface did become more smoother but some of the cloth mesh that holds the plaster together started to become exposed and frayed. I will potentially have to think about other smoothing techniques or see how adding more layers works.
